What Is A Digital Document Signing Certificate?
Jan 19 | Written By Team Notary HubNotaryHub.com by Notary Hub is partnered with SSL to provide Adobe approved cloud-based X509 document signing certificates to our users. Electronic documents signed with these certificates can be verified using Adobe Acrobat pdf viewer’s Signature Panel. This proves that you were the notary who signed the document, the document has not been altered after its signing, and that you, not anyone else, are the owner of the document signing certificate.
Want to know more about what these are? This video provides a detailed description of X509 document signing certificates for notaries. What they are, how they work, and how RON notaries can apply digital signing certificates to documents on Notary Hub.
Document signing certificates are required by states that allow remote online notarizations, and they digitally seal the final signed document that has been notarized online/remotely. This cryptographically verifiable, signed electronic document will have your identity & Notary Public credentials embedded in the document in the form of a digital signature.
Document signing certificates from SSL allow you to digitally sign documents as a Notary, and these digitally signed documents provide secure, cryptographic evidence that the document was notarized by you, and this digital signature becomes invalid if the document is altered.
Bottom line: Obtaining your digital certificate is of upmost importance in order for you to legally operate as a remote online notary.
The good news? Well, we have two pieces of good news for you.
#1 Because of our partnership with SSL, we’ve made it super easy for you to obtain your document signing certificate with easy to follow prompts embedded directly in your account set-up process.
For detailed instructions on how to obtain your digital certificate, continue reading this blog post and follow the steps listed below.
#2 As a new Notary Hub user you get a one-time discount off your first year of your digital document signing certificate! (You can thank us later.)
OBTAINING YOUR DIGITAL DOCUMENT SIGNING CERTIFICATE
New User Discount
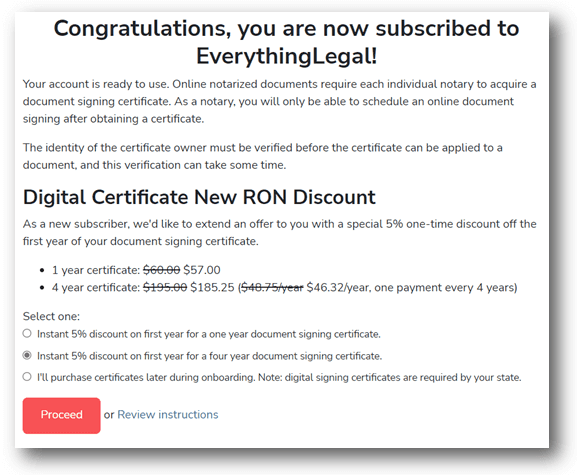
During your registration onto the Notary Hub platform you will be prompted to obtain your digital certificate through SSL.com. As a new Notary Hub user, you get a special offer for a 5% one-time discount off the first year of your digital document signing certificate.
If you plan to purchase your digital certificate through our partners at SSL to get a discount, select the term of your Notary Hub subscription and then click the ‘Proceed’ button at the bottom of the discount offer screen:
Choosing Your Certificate
Your digital notary seal is combined with your digital certificate to create your 'digital signature'. A notary public is required to have, and use an identity-based digital certificate to digitally sign and seal each notarized document. Once a digital signature is applied, the electronic document is encrypted so that it cannot be modified; thereby protecting against digital tampering and creating a non-reputable legally binding document, in which relying parties can trust.
Applications for SSL document signing certificates and cloud signing services integrated with NotaryHub, undergo an identity validation process, which includes submission of your photo ID and personal info.
Once all materials are submitted you can expect the validation process to take 3-5 working days. Signatures applied after the validation process will sign documents with your 'digital online signature' containing your validated identity in a digital format recognized as legally binding in every state.
You may choose between the following digital certificates:
- 1-Year validity duration
- 4-Year validity duration (additional discounts provided for longer durations)
Register for an SSL Customer Account
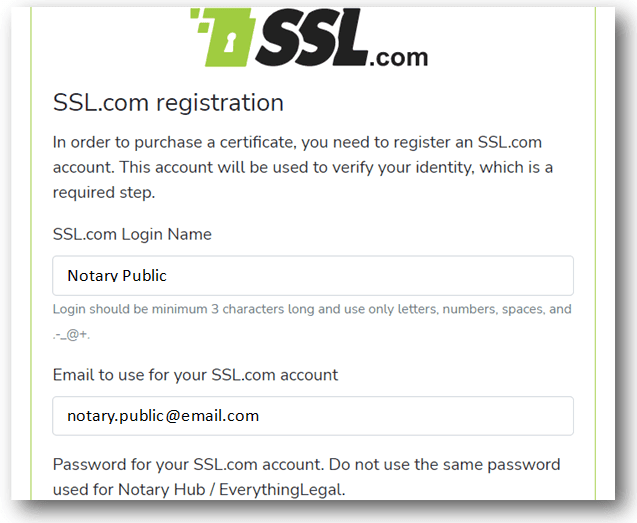
After you select to proceed, you will be redirected to the purchase certificate/register screen, where you will create your account with SSL.
The SSL registration screen will automatically populate with the username and email you used to sign up with Notary Hub, BUT, it will require you to create a separate password for SSL - So you cannot use the same password you used for your Notary Hub account.
IMPORTANT NOTES:
- Due to the high-level security encryption process, the behind the scenes 'flow' of creating your SSL account & certificate, is a sensitive one!
- Make sure the email you use to sign up is easily accessible to you, and it has no spam filter settings on that could possibly interfere with you receiving emails from SSL.
- These emails contain the secure links you must follow to begin your identity verification, and successfully setup your account/create your digital signature - If you don't get these emails, you can't successfully complete the process.
Once you have entered the password you would like to use for your SSL account, click the ‘Purchase Certificate’ button at the bottom of the screen (be sure to take note of this separate password, you will need it later on).
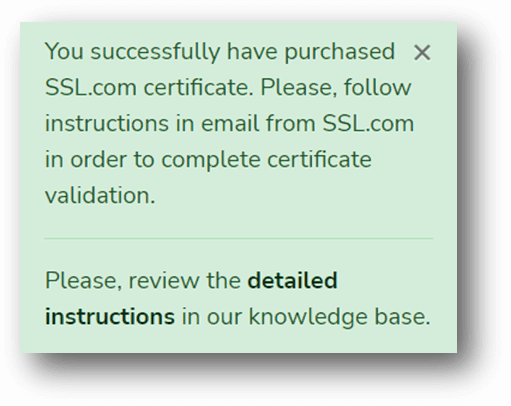
Upon purchase, you will be automatically redirected back to your Notary Hub Dashboard, and a popup message will appear briefly that you have successfully purchased your digital certificate and to follow the instructions sent to the email you signed up with - This message will also appear in the header/onboarding section of your dashboard.
Under that you will see a ‘verify phone’ message - click the link to verify your phone # by receiving a one-time code via text - enter it on the next screen once you receive it.

After you verify your phone number, check your email. You will see an email from support@ssl.com with the subject line ACTION REQUIRED: Please verify your request for certificate issuance.
Verify Your Identity
Follow the link to begin your identity verification. You will need to use your mobile phone to capture your government-issued ID, along with a selfie. This verification is required for any new certificate, since each certificate is a secret key that is linked with your identity as a notary.
Once you have completed your identity verification, your certificate request is reviewed by the SSL team. After review, your certificate will be issued. The review is a manual step and may take between 1-5 business days to complete.
After your certificate request has been reviewed and the certificate issued, you will get a new email from SSL with the subject line ACTION REQUIRED: Please enroll to securely sign documents
Prior to following the link to enroll, it's suggested that you first install an authenticator app on your mobile device:
- For Android, download Google Authenticator app from Google Play.
- For iOS, download Google Authenticator app from the App Store.
Enroll to Securely Sign Documents
Follow the link to enroll. You will be prompted to enter a private 4-digit PIN. The PIN must be composed of four different, non repeating numbers.
If you do live in a state that allows for remote online notarization you can trust your Notary Hub notary is authorized to perform the notarial act.
After entering your PIN, you will be presented with a QR code to scan.
IMPORTANT NOTE: You must scan this QR code using an authenticator app, NOT your phone's camera.
Launch Google Authenticator on your mobile device, and click the (+) icon in the lower right and select 'Scan QR Code' to scan the Enrollment QR code.
Next, go to your email and locate the email sent from noreply@ssl.com
Open the 'noreply' email and follow the link to be taken to the SSL Customer login page:
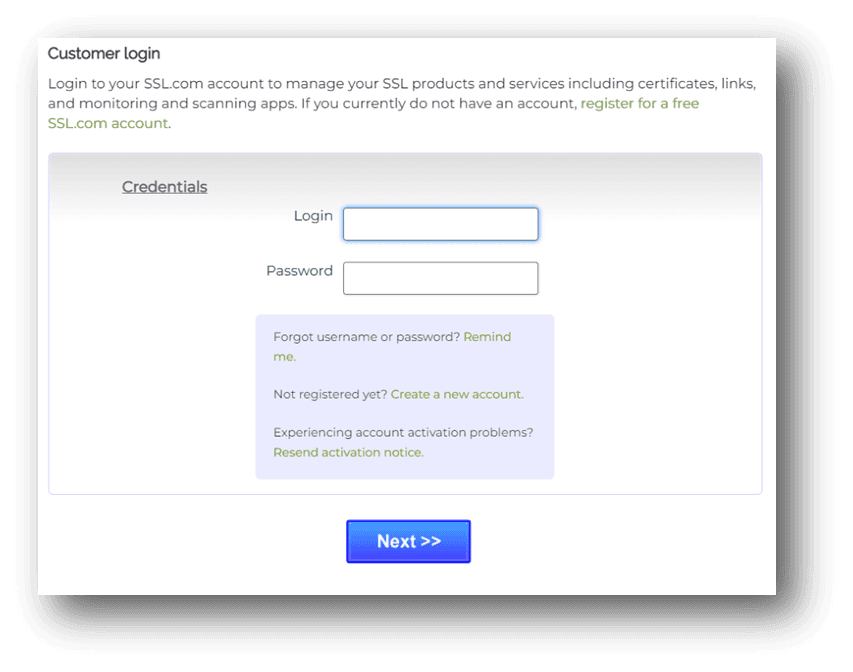
Your username may populate with your first & last name, you can leave this as is or change it as you see fit (just remember it should be different than your Notary Hub login)
Enter the password you created in your NotaryHub.com account when you initially purchased the certificate during signup.
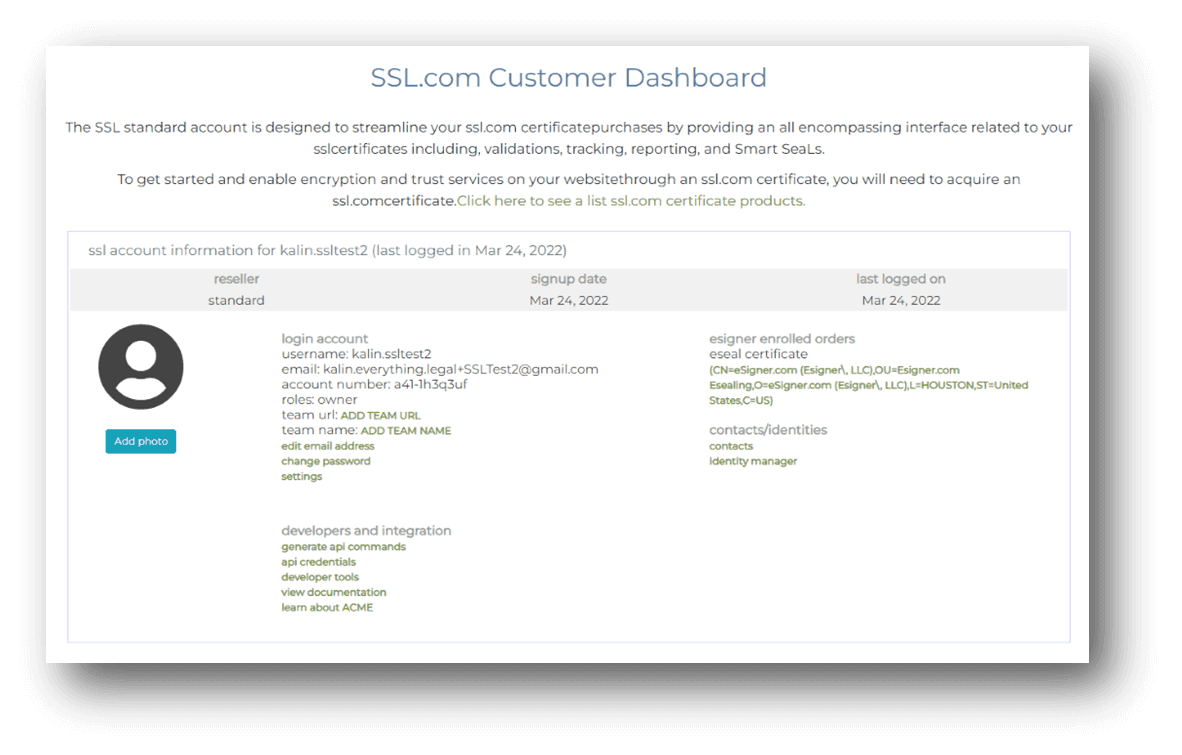
You will then be taken to your SSL dashboard.
It's here you’ll be able to update your account info and profile details, access your electronic certificate, and manage your notary contacts and team members' digital credentials.
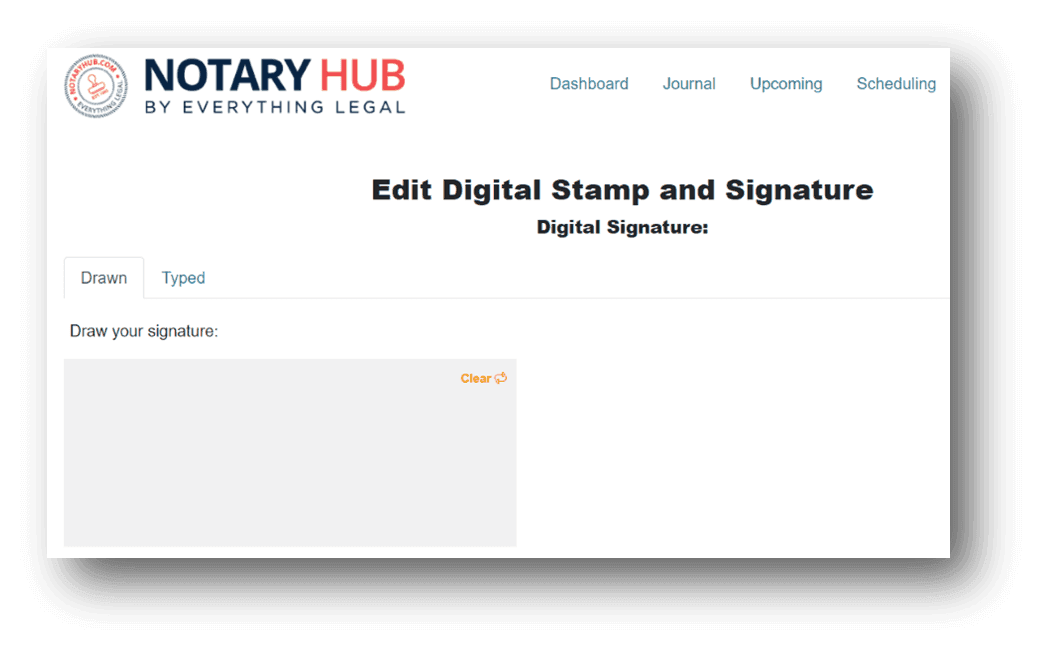
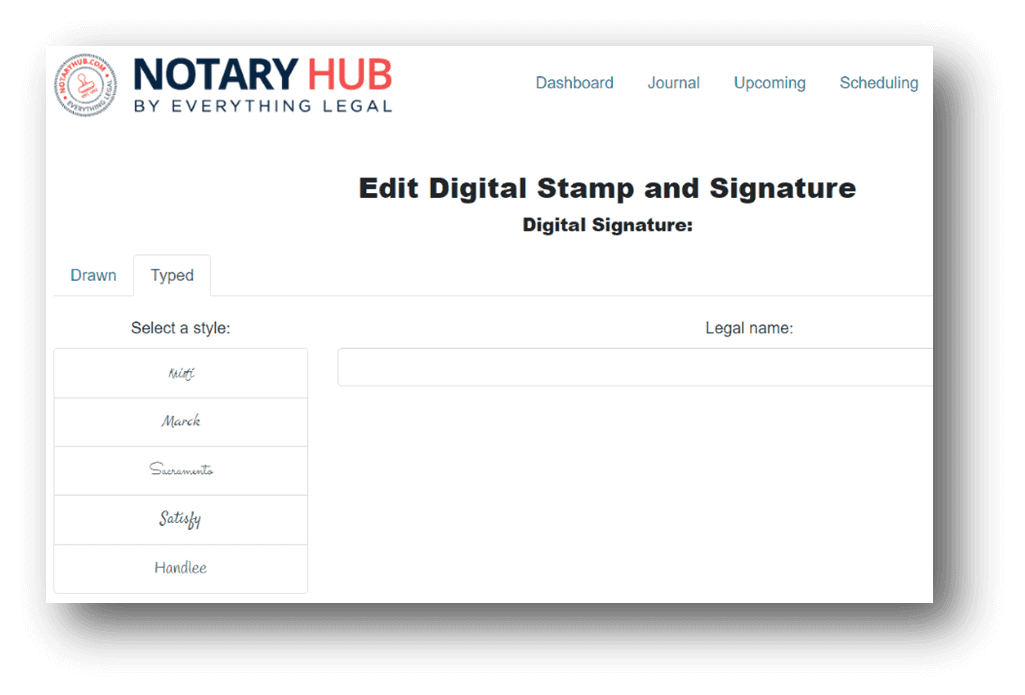
When you return to your Notary Hub dashboard, you should automatically be redirected to your Create Digital Signature page, you can choose to draw or type your digital signature.
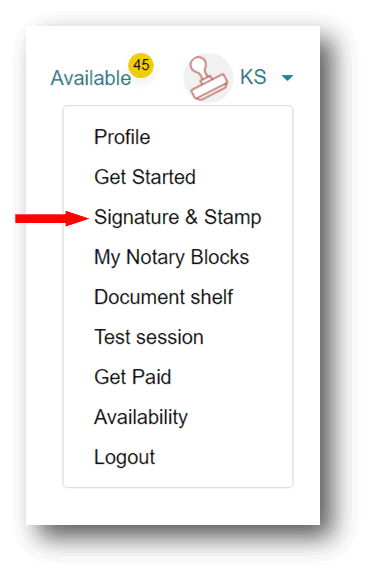
Below your signature will be where you can fill in the details of your digital stamp, but you can always view those details and access your stamp and signature at any time through your profile menu.
Activate Your Personal ID Document Signing Certificate
The last step in the process, is to activate your 'digital online signature' once your order has been issued.
To do this, you will need to follow your individual order's activation link sent via email from orders@ssl.com
If you've already set your PIN and created a remote signing credential, simply follow the link in the email, and click the "issue certificate" button activate your digital signing credentials.
Otherwise, if you haven't set your PIN or enrolled for eSigner yet, select the same link and follow the prompts to set your 4-digit PIN and start signing remotely.